A Time Traveling Cookie
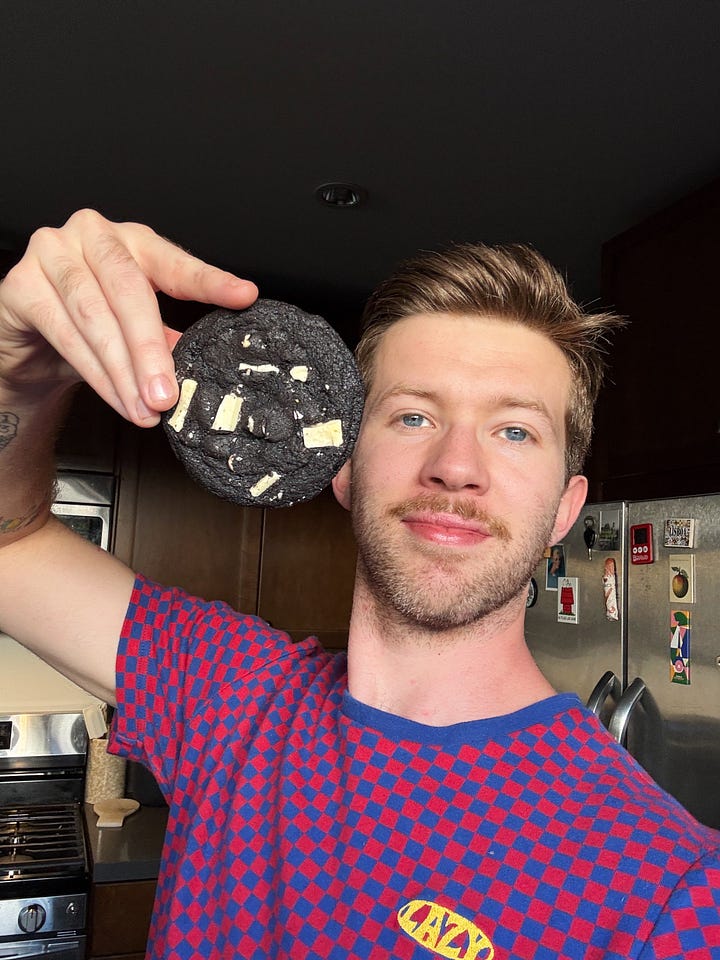
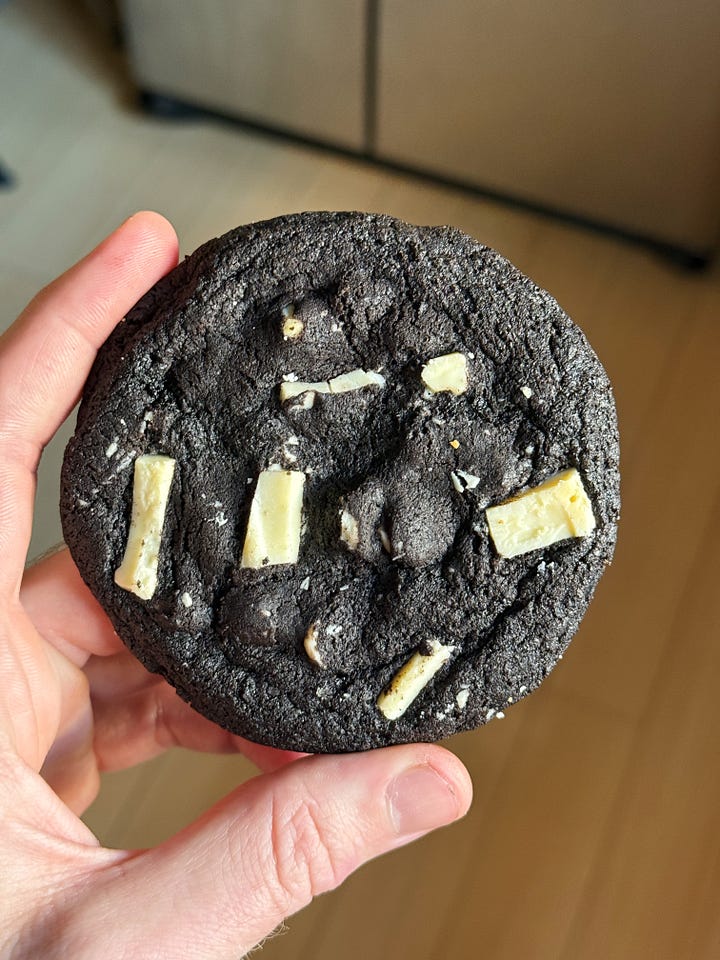
Starring black cocoa and white chocolate, and a nod to my baking roots!
In September of 2009, I had just turned sixteen (sheesh). I remember being so excited to finally be old enough to apply to jobs, and I jumped right into the job search the moment I could. My small town of Wilmington, North Carolina consisted mostly of fast food joints, two Walmarts, and some small businesses near the beaches bordering it. This meant most of my applications went to corporations— the beginning of the true American dream, no? I applied to Wendy’s, Starbucks (my number one choice at the time), PacSun, Great American Cookies, and a few other spots. The last one on the list became the first— and only— one to call me back. I got an interview and subsequently landed the job! So there I was, starting my very first “baking” gig, not knowing I would be stuck in the kitchen for the rest of my life (willingly, I suppose).


At G.A.C., we would scoop cookies and tray them up with various toppings and load them into convection ovens for a quick 11-12 minute bake. I am a master of cookie scooping and can out-scoop almost anyone. I dare you to challenge me! I had a few favorite cookies from the menu: M&M, snickerdoodle, and, today’s recipe: the domino cookie!
A domino cookie is sometimes called an “inside out” chocolate chip cookie, which is a little gross sounding to me, frankly. Also, they don’t taste like chocolate chip cookies at all. A better name would perhaps be “backwards chocolate chip cookies.” Alas, I like the name domino cookie, since it conjures a vision of black plastic dominoes, speckled with white polka dots. These cookies utilize black cocoa, and white chocolate (chips & chunks!), and they certainly look reminiscent of dominoes. Black cocoa is the secret ingredient your pantry needs for making super chocolatey recipes like homemade Oreos or Brooklyn blackout cake. I seriously love it.
These cookies took 6 rounds of testing to get to what I consider the ideal texture. The early tests all tasted great, but spread too much, which made them a little too crispy and chewy. In the end, they’re perfectly thick, chewy, and honestly, delicious. Did you know chocolate (and the quantity you use) actually plays a huge part in the final texture of a cookie? It’s crazy to me that there is more chocolate than flour in this recipe, but using any less in the other versions of testing left me wanting more. That being said, if you don’t want to add the optional chopped chocolate chunks on top, I think you’ll be okay. I like them for aesthetic reasons and they do enhance the recipe, but I always like to offer some flexibility with my recipes, which is why I mention things like “you can melt the butter instead” in the recipe notes below. It’s a cookie, so it’s not that serious. I believe baking should be fun and not confusing or limiting. There’s more than one way to skin a cat, as they say, and there’s also more than one way to mix most baked goods and yield a similar outcome. I wonder how this cookie would bake up if it was reverse-creamed…
Recipe Notes: If you’re wanting cookies ASAP (I get it), you can melt the butter instead and chill the dough until firm in the freezer— then scoop and bake right away. If you have time, though, you’ll be rewarded with a better cookie with the creaming method and a 1-2 hour chill (or even overnight, if you can bear it). The chill time and creaming method both provide a thicker, chewier cookie with crispier edges. When baking cookies after an overnight chill, let them sit at room temperature for a bit while the oven heats up. One final note, if these cookies are too sticky to portion— definitely chill the dough longer! It shouldn’t be sticky or warm at all going into the oven, either— this leads to thin cookies that spread too much.


Domino Cookies
Prep Time: 10 minutes
Bake Time: 14-15 minutes
Servings: 12 cookies
1/2 cup (114g) unsalted butter, softened
1/2 cup (115g) granulated sugar
1/2 cup (100g) brown sugar
1/2 tsp vanilla extract or paste
1/2 tsp kosher salt
1 egg
1 yolk
1 cup + 2 tbsp (146g) all purpose flour
1/2 cup (42g) black cocoa powder
1/2 tsp baking soda
1 cup (170g) white chocolate chips
Extra white chocolate bar, chopped, for topping (optional)
Cream the butter, both sugars, vanilla, and salt together until light and fluffy, 2-3 minutes (if using melted butter instead, just mix until combined). Add the egg and yolk and mix until incorporated.
Add the flour, black cocoa powder, and baking soda and mix on low speed until a soft dough comes together. Add the white chocolate chips and mix until just combined. Wrap the dough in plastic (I usually take it out of the bowl) and place in the fridge for 2 hours, until firm. You can also pop the dough in the freezer for 30ish minutes to expedite— flip it over once for even chilling.
Portion the cookies: divide and roll the dough into 12 balls, ~60g each, or 3 leveled tablespoons. I use a yellow cookie scoop for this. If you’re using the extra chopped white chocolate, press several pieces into the dough balls and place them in the fridge while preheating the oven to 350º F. You don’t have to bake these all at once— bake some the next day and you will see how the texture changes as the flour is fully hydrated.
Place the cookies on a lined baking sheet. You can fit 6-8 on a half sheet, leaving some space for spreading between each. Bake for 13-14 minutes, until the cookies have spread and the centers no longer look shiny and wet. Bang the pan carefully on the counter 2-3 times to flatten the cookies a bit, giving them chewier centers. Let cool on the pan. Enjoy!


