Cherry and Apricot Jam
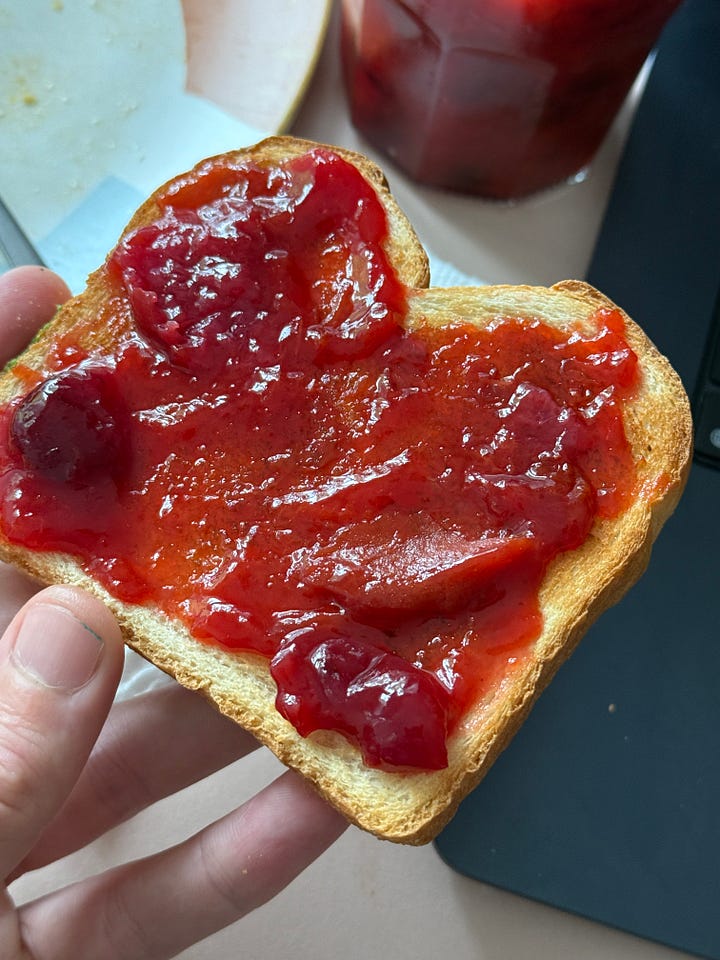
A flavorful and bright jam that utilizes two of my favorite stone fruits.
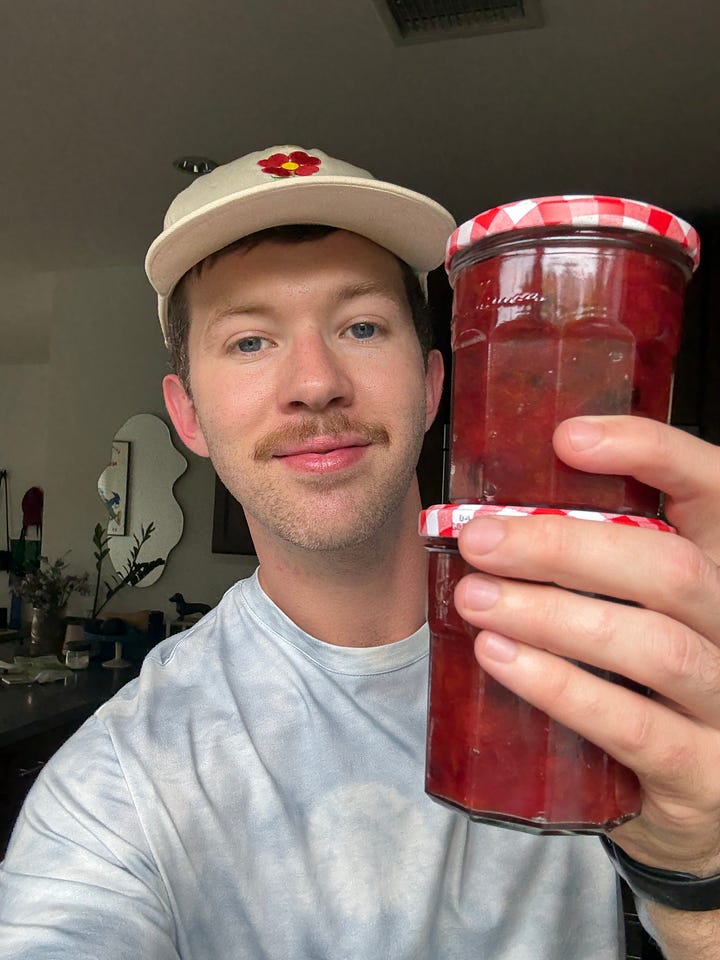
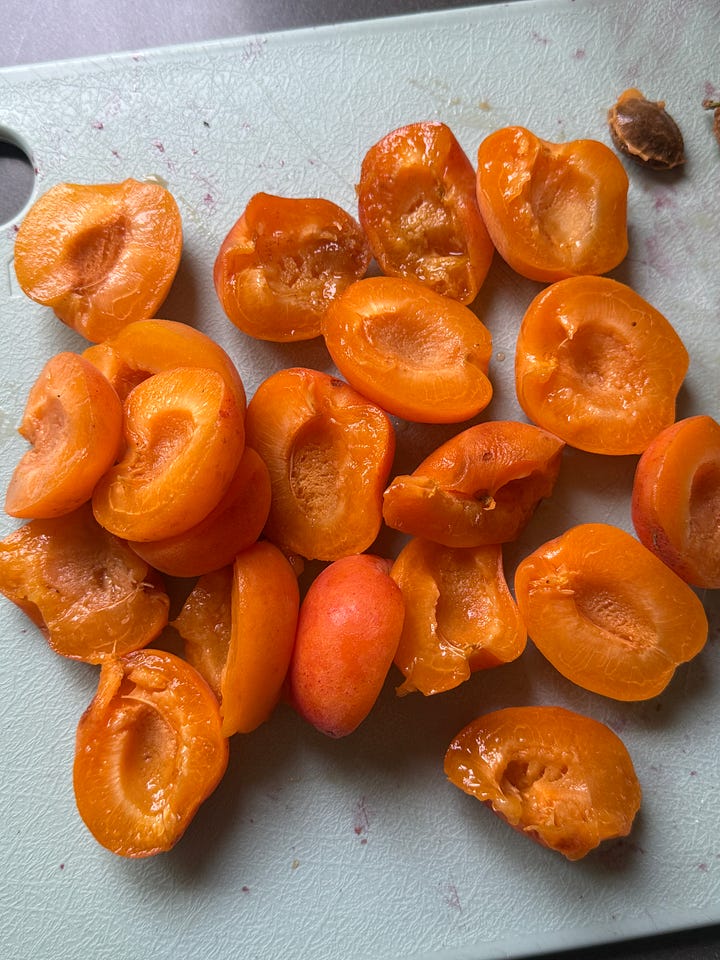
There’s nothing like making a pot of jam with perfectly ripe produce— it’s the ultimate gift to your future self, or anyone you might choose to gift a jar (you really love that person). Fruit is expensive, and you need a good amount to cook down for 30+ minutes, so things can get costly pretty quickly. I’m not making jam every weekend, though. It’s an occasional indulgence for me that sometimes happens naturally when I’ve bought too much fruit and not gotten around to use it, like these apricots and cherries I got from the farmers market a few weeks ago.

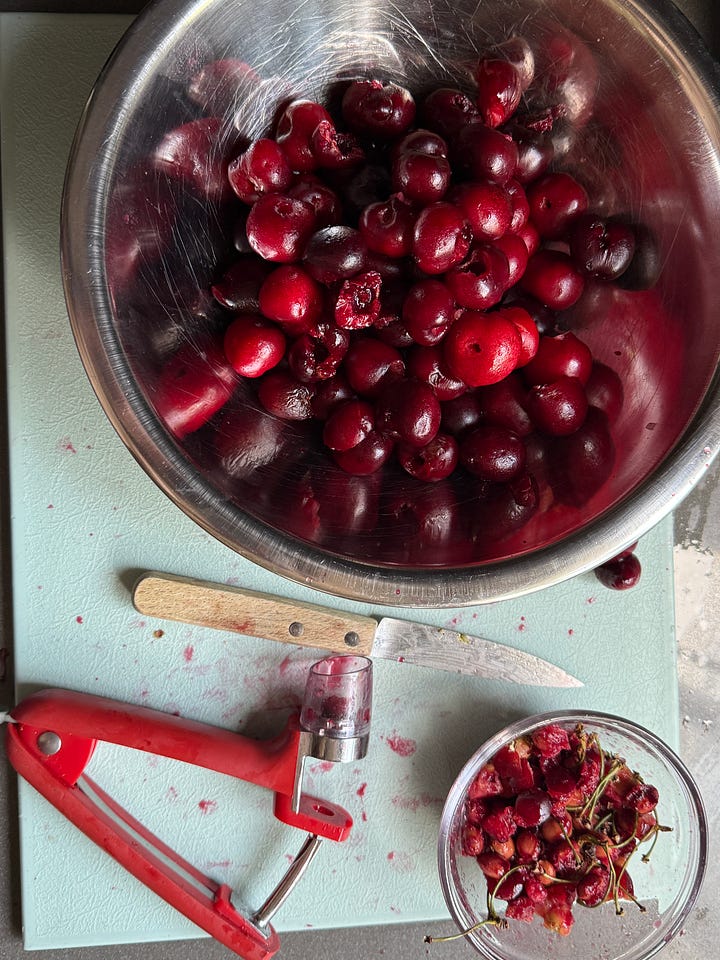
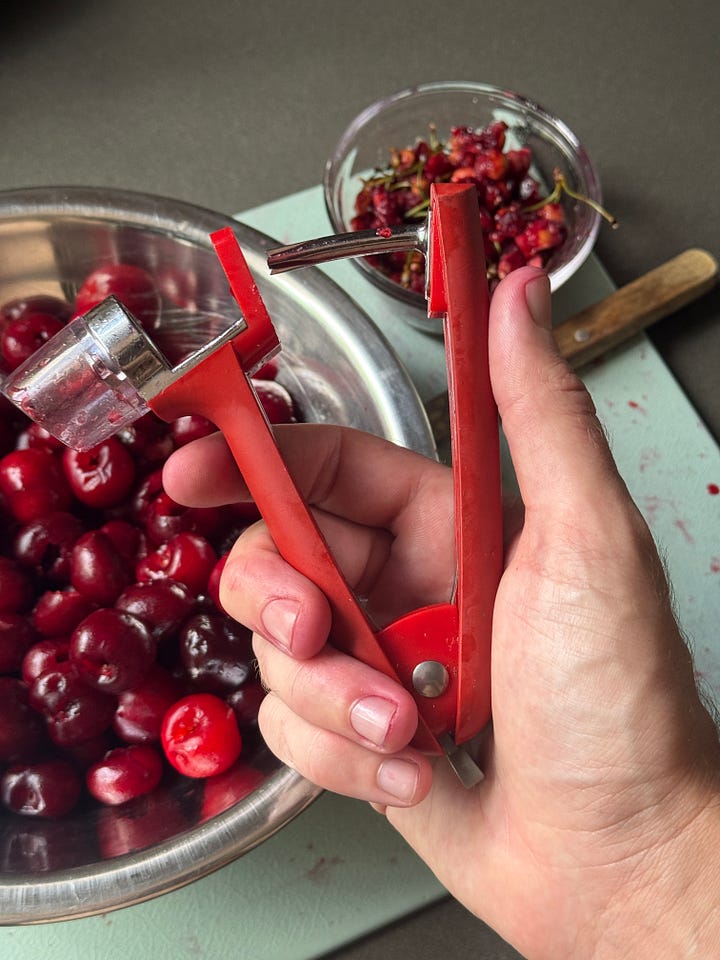
If you love cherries as much as I do, I highly recommend getting a cherry pitter. Yes, it’s a one-use tool, but it stores easily in a drawer and becomes a seasonal ritual you look forward to each spring. Some years, it might stay tucked away, but when you remember it the next season, there’s a very gratifying moment of “I have the perfect tool for this." Tools are one of humanity’s greatest achievements, helping us make tasks easier and more precise. This is true for bakers and chefs, too— cooking tools and utensils become extensions of ourselves, helping us create with speed and accuracy. Needless to say, I’ve got quite a collection of kitchen gear— dough whisks, candy thermometers, a sous vide machine, multiple spatulas, cookie scoops, and scales. They each have a place in the orchestra of my kitchen.
How (And Where) I Learned To Make Jam
Most of you know I didn’t go to culinary school, and my cooking skills have been gained throughout my career and taught to me by mentors and peers with kind hearts who’ve been generous with their knowledge. I first learned to make jam from my friend Leslie Gratiano while working in Provincetown, Massachusetts, the gay capital of the East Coast. I moved there right after I left Paris and had just ended my relationship with my French partner. I returned to New York and hated every minute of it after being in a place like France. It was a rocky time for me, and escaping from New York City (again) became a priority. When an offer came to assist a pastry chef I had worked with before, I quickly accepted, packed my bags, and became a P-town resident. I was 23 at the time and got a lot of partying out of my system, but I also learned a lot. I picked up skills like laminating doughs, stocking a case with 12 different ice cream flavors, and producing pastries for a business with multiple operations— including a bakery/coffee shop, a restaurant, and eventually, a farmers market stand. I also learned here that not everyone has the best intentions, and not all friendships are meant to last. I truly feel like I’m still learning that today, which can still be painful. But we keep trucking.


Leslie had previously worked in a popular jam shop in California, if I remember correctly. She taught me a crucial ratio that I’ve kept as a guideline every single time I make jam: the sugar should be 30% of the fruit’s weight. I make this calculation after the fruit prep has been done, like pitting, peeling, or removing stems. You can safely go down a bit for a less sweetened jam, but personally, I do not advise going higher than this (because I’ve tried and not liked the outcome). Sugar does a few things to make jam happen: it helps thicken and set the mixture when combined with pectin, it acts as a preservative and protects the fruit from molding, and it helps balance acidity, letting the fruit express itself and the flavors it has to offer. Leslie also taught me to skim foam from the top of jam for a clearer final product. I think you’d be fine without skimming the foam, but I do it anyways, because jam making is a ritual and menial tasks like skimming are meditative and filled with intention. Put love into a jam and you’ll get love back from both the fruit and work you put into it.
How Do You Know When Jam Is Done?
Staring into a boiling vat of fruits can be intimidating. What if I burn it? What if I undercook it? What if I overcook it? I’ve done all of those. If it burns, you’ll know: and you should quickly pour off the top of the fruit mixture and save whatever you can that hasn’t clung to the bottom and blackened. It happens, but I know it’s disappointing. If you undercook it, it will be runny when cooled, and you can simply return it to the stove and keep cooking (and maybe do some research about adding pectin, as that could sometimes be a source of the issue depending on what types of fruit you’re using). If you overcook it, it will set harder and have a firmer texture, but you can find some kind of use for it so it doesn’t go to waste (like adding some hot water and using it as a syrup or compote for pancakes).
But how do you know when it’s done? I use two ways.
Cooking to 220ºF: this requires a digital thermometer, which is literally only like $10 if you order it online and will save you a lot of headaches in times like these. I always try to get my jams to this temperature, as it’s a solid indicator that they will set properly. Scientifically, 220ºF is the temperature at which the sugar and pectin reach the right concentration and bond to form a gel, giving jam its iconic texture.
The Plate Test: I don’t use this test so much anymore, but it can be a good option. Place a small plate in the freezer before cooking your jam. When you think it’s ready, take the plate out, drop a small spoonful of jam on it and wait a few seconds. Drag your finger through the jam drop and if it wrinkles, that’s a good sign it will set once it has fully cooled. If it’s still runny, keep cooking.
A Few Visual Signs: the consistency has thickened, it drips slowly off of a spoon in “sheets” or thick ribbons, and slow, steady bubbles have formed rather than splatters and rapid bubbling.
Cherry & Apricot Jam
Prep Time: 1 hour, plus overnight macerating time
Cook Time: 30-40+ minutes
Yield: 2 (13-ounce) jars of jam (plus a bit extra)
500g (~4 packed cups) sweet cherries*, pitted and halved
450g (~4 packed cups) apricots, pitted and quarted
300g granulated sugar
Juice of 1/2 lemon
Recipe Notes: I used Brooks cherries which were perfectly ripe, and quite sweet with a little tartness. For balance, you could do a mix of sweet and sour cherries, or add a little extra lemon juice if you taste it and it’s too sweet in the end. Important: this jam should last at least a month in the fridge, but if there are any signs of mold it’s best to throw it out. Sometimes I’ve scrape the top and use what’s underneath, but I am by no means suggesting this is safe. I’m not providing a method for boiling and sealing jars because I don’t typically do that when making small batches of jam. If you’re interested in that, review an expert’s guide like this one from Food In Jars.
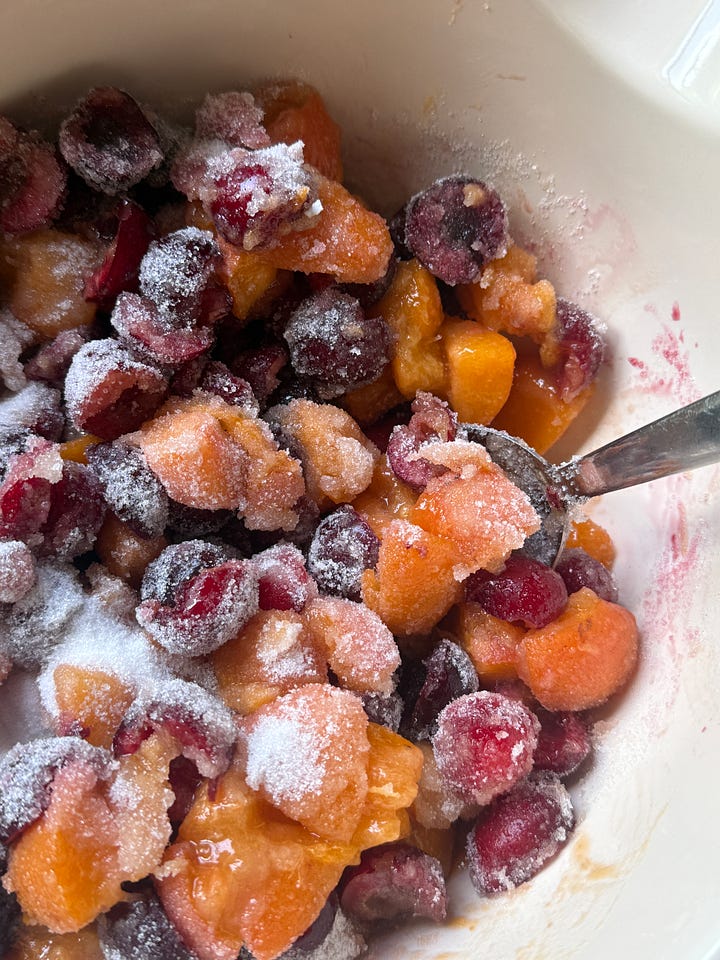
Combine the prepped fruits, sugar, and lemon juice in a large bowl or container with a lid. Let the fruit macerate a minimum of 1 hour— but for the best results, let it sit overnight in the fridge. This really gets the flavor pumping and the juices juicing.
The next day, pour everything (juices and all) into a large pot. Bring the mixture to a simmer over medium heat and stir often and lowering heat if it becomes too violent.
Cook for 35-40 minutes, monitoring with a digital thermometer, until you hit 220ºF. If you need to step away (briefly!), reduce heat to very low. Note that the jam can take longer than 40 minutes depending on cooking conditions (pot size, overall volume, water/sugar content in the fruit you’re using, etc).
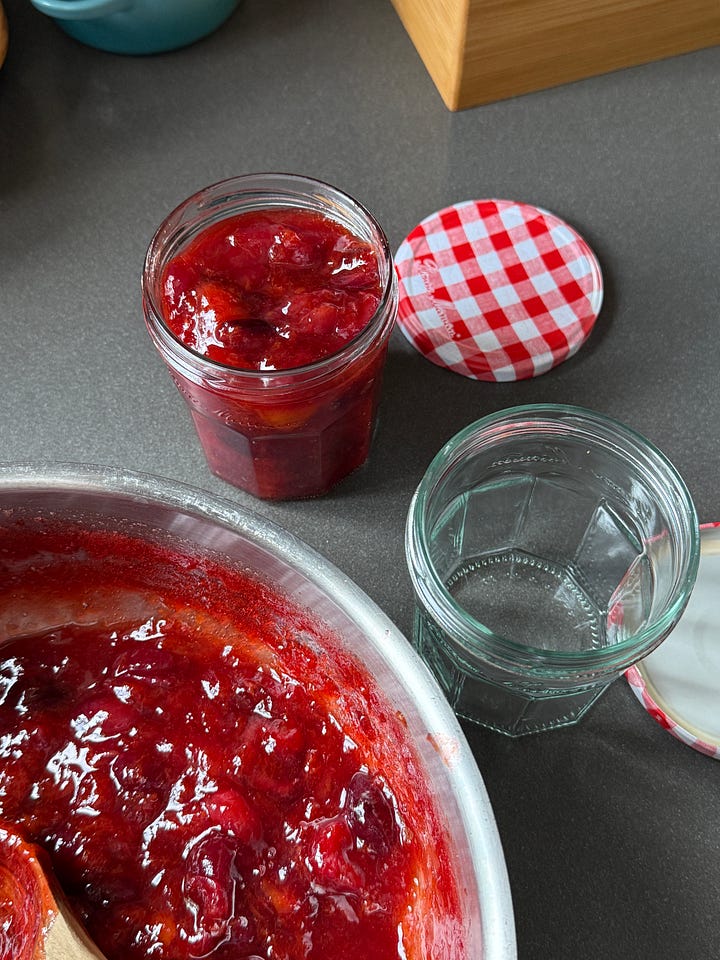
When the jam has reached its final form, ladle it (I never have luck pouring, so I wouldn’t try that) into jars and let it cool before putting the lid on. You can cover the jar halfway with the lid and let it hang out until cooled, then seal and refrigerate.


